
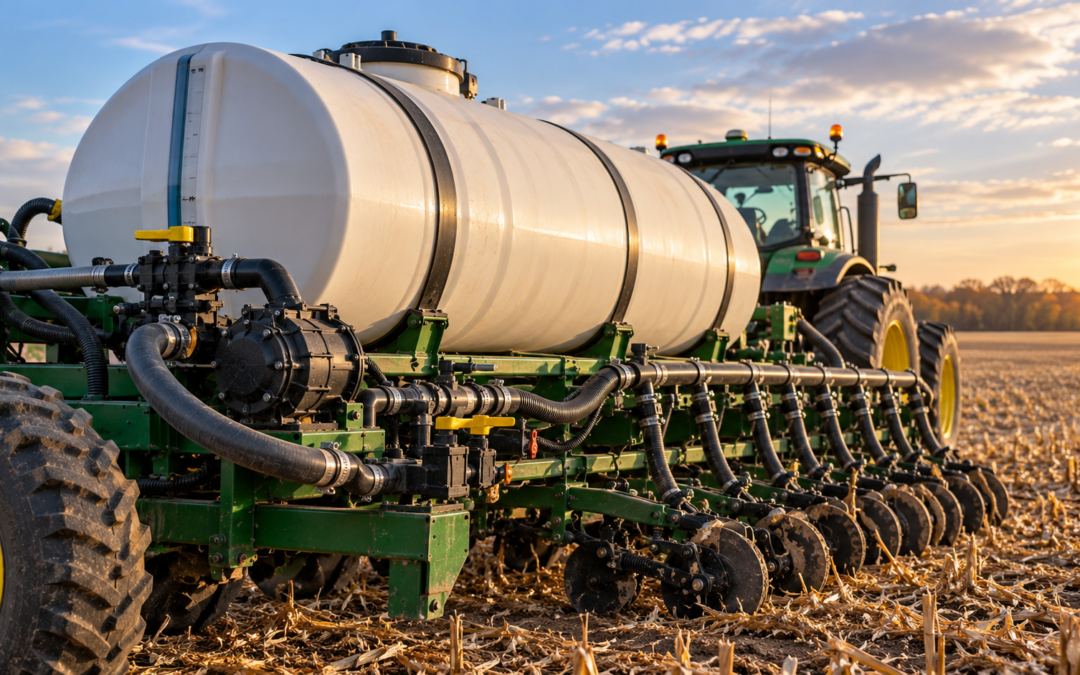
As the growing season comes to an end and temperatures begin to drop, farmers have another important task to complete before putting their equipment away for winter. Liquid fertilizer application systems require proper cleaning, inspection, and winterization to prevent damage during months of inactivity.
While tractors, combines, and other large machinery often receive plenty of attention during seasonal maintenance, fertilizer equipment deserves just as much consideration. Pumps, hoses, valves, tanks, flow meters, and other components can be vulnerable to freezing temperatures, corrosion, and fertilizer residue.
Learning how to winterize liquid fertilizer equipment can help protect these components, reduce unnecessary repair costs, and prevent frustrating delays when the next application season arrives.
Whether your operation uses liquid fertilizer on a planter, strip till equipment, sidedress applicators, or other application systems, taking time to prepare the equipment for storage can make a significant difference in its long term performance.
Why Is Winterizing Liquid Fertilizer Equipment Important?
Liquid fertilizer application systems are designed to move fertilizer accurately through pumps, plumbing, and distribution components. However, these systems can experience problems when fertilizer or water remains inside during winter storage.
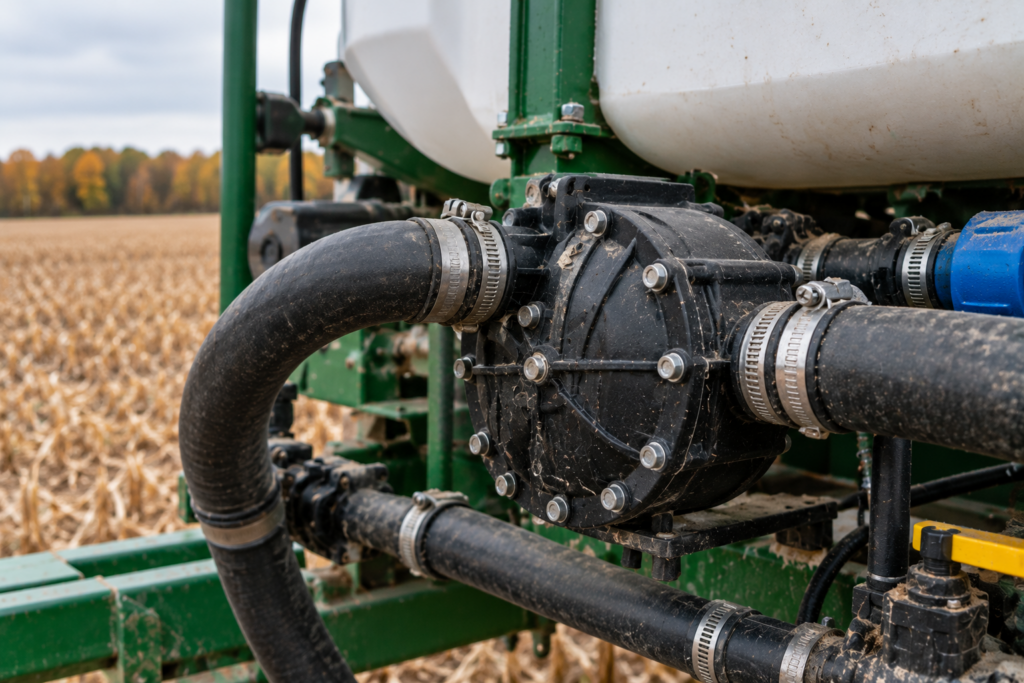
Freezing temperatures are one of the biggest concerns.
Water expands as it freezes, potentially damaging pumps, valves, fittings, and other components. Even a small amount of trapped water can cause problems in confined spaces.
Fertilizer residue creates another concern. Certain fertilizers can crystallize or leave deposits as temperatures change, potentially restricting flow and contributing to corrosion.
Proper winterization helps prevent these problems while providing an opportunity to identify worn components before they cause trouble during the next growing season.
Start With the Equipment Manufacturer’s Recommendations
Before beginning the winterization process, review the manufacturer’s instructions for your particular application system.
Not every liquid fertilizer setup is designed the same way.
Different systems may use centrifugal pumps, diaphragm pumps, piston pumps, electronic flow controls, or specialized distribution components. Each may have specific cleaning, draining, lubrication, and storage requirements.
For example, some pump manufacturers recommend filling internal pumping cavities with an approved winterizing fluid and sealing the inlet and outlet ports during storage.
Other components may require removal, separate cleaning, or storage in a temperature controlled location.
Following the correct procedures is important because using an incompatible winterizing product or storage method can damage seals, affect equipment performance, or potentially void warranty coverage.
Step 1: Remove Remaining Fertilizer From the System
The first step when you winterize liquid fertilizer equipment is removing the remaining fertilizer from the application system.
Fertilizer left inside tanks, hoses, pumps, and valves can create deposits and contribute to corrosion during storage.
Begin by following the manufacturer’s recommended procedure for emptying the system.
Any remaining fertilizer should be collected, transferred, stored, reused, or disposed of according to the product label and applicable environmental requirements.
Avoid draining fertilizer directly onto the ground or allowing concentrated residues to enter waterways or storm drains.
Once the fertilizer has been removed, the equipment is ready for cleaning.
Step 2: Flush the Entire Application System
Flushing is one of the most important parts of winterizing fertilizer equipment.
Use clean water and any manufacturer approved cleaning products to remove fertilizer residue from the system.
Depending on the equipment, flushing may need to include:
- Fertilizer tanks
- Suction lines
- Pumps
- Distribution manifolds
- Flow meters
- Control valves
- Application hoses
- Check valves
- Fertilizer outlets
The goal is to remove as much residual fertilizer as possible before winterizing.
Pay particular attention to areas where fertilizer may collect or become trapped.
Some systems contain bypass lines, recirculation plumbing, or separate application sections that require additional attention.
Flushing only the main supply line may leave fertilizer behind in other parts of the system.
Collect and manage rinsate appropriately, and follow the equipment and fertilizer manufacturer’s cleaning recommendations.
Step 3: Inspect Fertilizer Tanks
Once the system has been cleaned, inspect the fertilizer tanks.
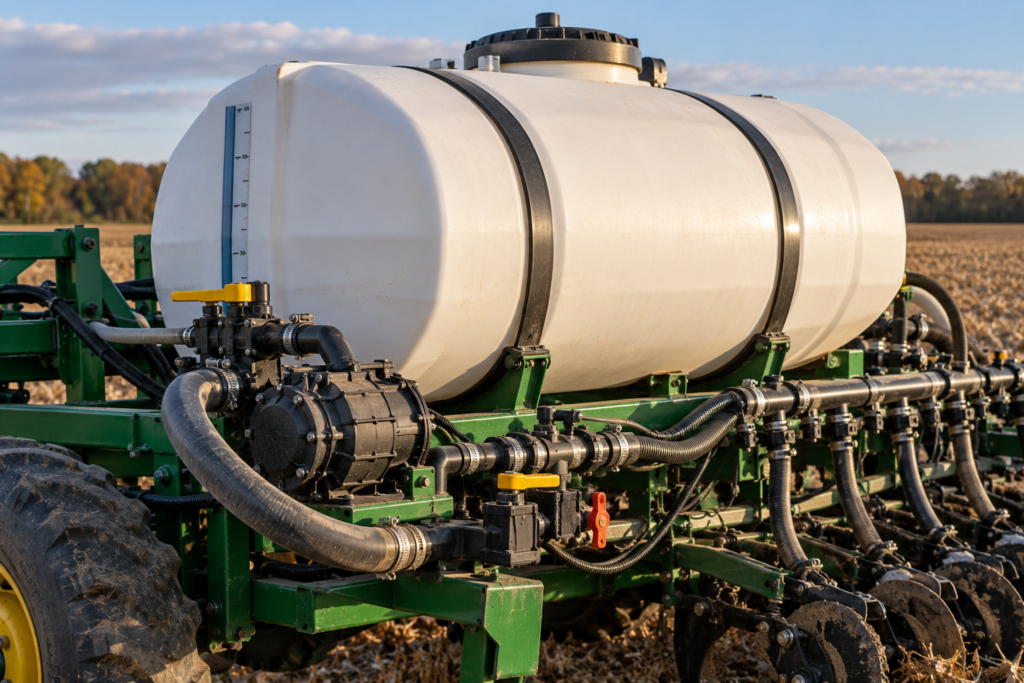
Look for cracks, damaged fittings, loose connections, deteriorating seals, or other signs of wear.
Tank mounting brackets and supports should also be inspected for corrosion or structural damage.
Although tanks are generally designed to withstand demanding agricultural conditions, repeated exposure to fertilizer, sunlight, vibration, and temperature changes can affect their condition over time.
Inspect tank lids, vents, drain fittings, and connections as well.
Small problems discovered during winter maintenance are often easier to address than failures that occur during fertilizer application.
After inspection, prepare the tank for storage according to the manufacturer’s instructions. Tank drainage requirements may differ from those of pumps and plumbing that need to remain filled with approved winterizing fluid.
Step 4: Check Hoses and Fittings for Damage
Hoses and fittings experience considerable wear throughout the application season.
Vibration, movement, fertilizer exposure, and environmental conditions can gradually weaken these components.
Before storing equipment, inspect hoses for:
- Cracking or splitting
- Bulges or soft spots
- Abrasion damage
- Loose connections
- Leaking fittings
- Deteriorating seals
- Kinks or restrictions
Pay special attention to areas where hoses bend around equipment frames or come into contact with moving components.
Even if a hose isn’t leaking, visible deterioration may indicate that replacement should be considered.
Winter is an ideal time to identify these problems because repairs can be completed before the next busy season.
Step 5: Protect Fertilizer Pumps From Freezing
Pumps are among the most important components to protect when you winterize liquid fertilizer equipment.
Depending on the system, pumps may contain internal chambers, seals, diaphragms, or other areas where liquid can remain trapped.
If water freezes inside a pump, expansion can damage internal components or crack the pump housing.
Corrosion can also develop when fertilizer residue remains inside certain pump materials.
After flushing, follow the pump manufacturer’s instructions for winterizing the internal components.
For some pumps, this includes filling the pumping cavity with an approved RV or equipment winterizing antifreeze and sealing the ports to keep the protective fluid in place.
Do not assume that draining a pump completely is always the correct approach. Some manufacturers specifically recommend keeping the internal cavity filled with an approved protective fluid to reduce corrosion and freezing risks.
Pump maintenance may also include checking oil levels, inspecting seals, examining diaphragms, and servicing bearings or other moving components.
Step 6: Use the Correct Winterizing Antifreeze
One of the most important considerations during winterization is selecting an appropriate antifreeze.
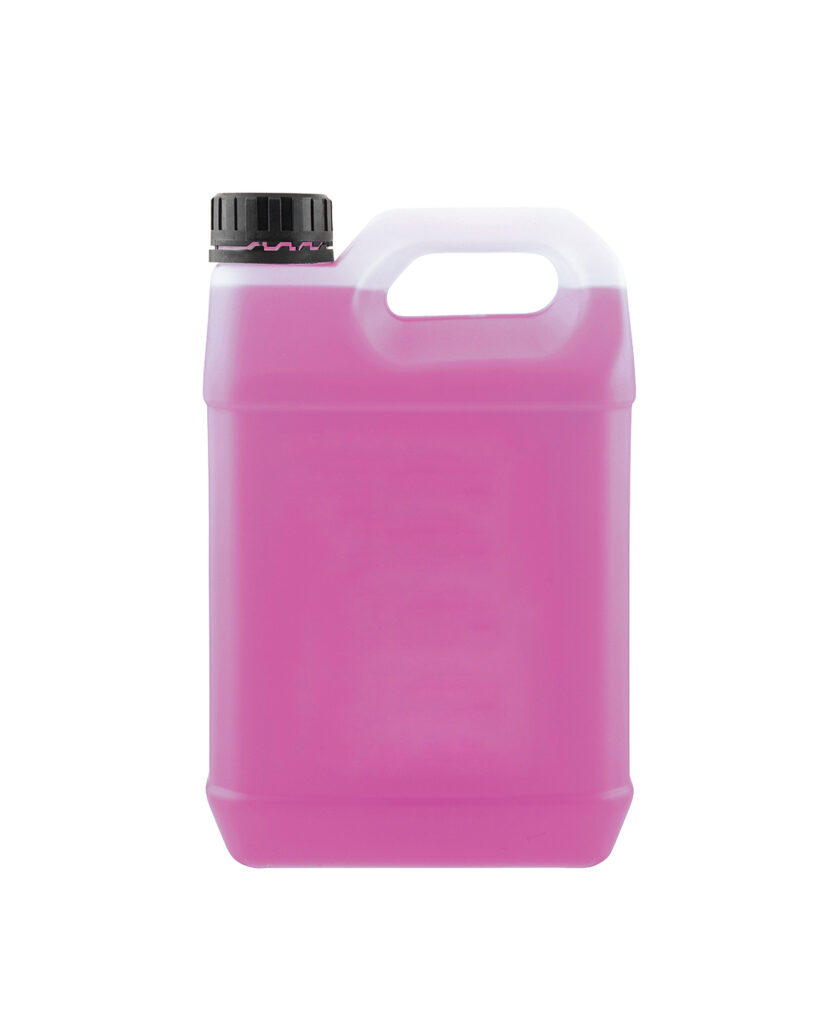
Not all antifreeze products are suitable for agricultural application equipment.
Some manufacturers recommend specific RV antifreeze formulations or products containing corrosion inhibitors.
The correct choice depends on the pump, plumbing materials, seals, and other components in the system.
Before adding antifreeze, verify that the product:
- Is approved for the equipment
- Provides sufficient protection for expected winter temperatures
- Is compatible with seals and plumbing materials
- Contains appropriate corrosion protection when required
- Can be safely removed and managed during spring startup
Avoid assuming that automotive antifreeze, windshield washer fluid, or leftover fertilizer can be used as substitutes.
Products containing certain alcohols or other incompatible ingredients may damage seals or create additional maintenance problems.
It is also important to distinguish between an antifreeze product’s freeze point and its burst protection rating.
Follow the product label and equipment manufacturer’s instructions to determine the appropriate concentration and quantity.
Step 7: Circulate Antifreeze Through the Plumbing
After cleaning and removing excess water, the next step is distributing the approved winterizing fluid throughout the system.
Depending on the equipment, this may involve operating the pump to circulate antifreeze through the application plumbing.
Make sure the protective fluid reaches all applicable components, including:
- Pumps
- Flow meters
- Distribution manifolds
- Control valves
- Bypass lines
- Check valves
- Application outlets
Some systems have multiple application sections that must be opened individually.
Others may contain low points or dead end plumbing where water can remain trapped.
Follow the manufacturer’s procedure for opening valves and circulating fluid so that all required components receive protection.
Use a suitable collection container when discharging winterizing fluid. Avoid releasing it onto the ground.
Once the process is complete, verify that the system has been winterized according to the manufacturer’s requirements.
Step 8: Clean Filters, Screens, and Strainers
Filters and strainers help protect fertilizer application systems from debris and contaminants.
Throughout the season, these components may collect sediment, fertilizer deposits, and other material that can restrict flow.
Remove and clean accessible filters and screens according to the manufacturer’s instructions.
Inspect them for damaged mesh, corrosion, or other signs of deterioration.
Replace components that are damaged or excessively worn.
Also inspect filter housings, gaskets, and seals.
A cracked filter housing or deteriorated seal can create problems when the equipment is returned to service.
After cleaning, reinstall or store these components according to the equipment manufacturer’s winterization recommendations.
Step 9: Inspect Flow Meters and Application Controls
Modern liquid fertilizer equipment often includes precision agriculture components that help control application rates and monitor system performance.
These may include flow meters, rate controllers, pressure sensors, electronic valves, and monitoring equipment.
Fertilizer residue and moisture can affect some of these components during storage.
Inspect accessible parts for leaks, buildup, damaged wiring, and loose connections.
Flow meters should be cleaned according to their manufacturer’s instructions, especially when fertilizer residue may have accumulated inside.
Avoid using high pressure water directly on sensitive electronic components.
Electrical connections should be inspected for moisture, corrosion, and damaged seals.
If the system includes removable displays or other electronics, follow the manufacturer’s storage recommendations.
Protecting these components helps maintain accurate fertilizer application when the equipment returns to the field.
Step 10: Clean the Exterior of the Equipment
Winterization isn’t limited to the inside of the plumbing.
Liquid fertilizer can leave corrosive residue on equipment frames, brackets, fasteners, and other metal surfaces.
Thoroughly clean the exterior of the application equipment, paying attention to areas where fertilizer may have splashed or accumulated.
Inspect exposed metal for rust, damaged coatings, or corrosion.
Touching up protective coatings and addressing corrosion early may help prevent further deterioration during storage.
Be careful when washing around electrical connectors, sensors, and control modules.
After cleaning, allow equipment to dry thoroughly before storage.
Step 11: Inspect and Service Moving Components
The off season is also an opportunity to perform maintenance that may be difficult to complete during the growing season.
Depending on the application system, inspect chains, sprockets, bearings, drive components, and other moving parts.
Look for unusual wear, misalignment, loose fasteners, or damaged components.
Lubricate equipment according to manufacturer recommendations.
For pumps that require oil changes or other scheduled maintenance, winter storage may be a convenient time to complete that work.
Addressing these issues now can reduce the number of maintenance tasks waiting when spring arrives.
Step 12: Store Equipment in a Protected Location
Once winterization is complete, consider where the equipment will be stored.
Indoor storage is generally preferable when available because it reduces exposure to snow, ice, moisture, and changing weather conditions.
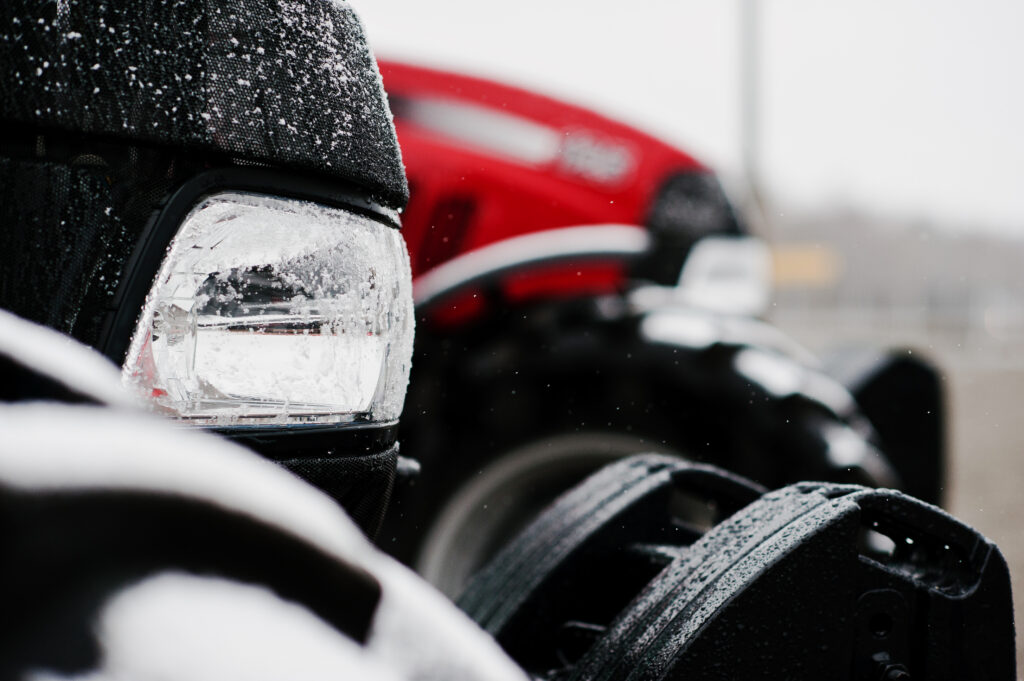
However, storing equipment indoors doesn’t automatically eliminate freezing risks.
Unheated buildings can still reach temperatures below freezing.
That is why properly winterizing pumps, hoses, and plumbing remains important even when equipment is stored inside.
If outdoor storage is necessary, follow the manufacturer’s recommendations for protecting exposed components.
Secure hoses, protect electrical connections, and use suitable covers when appropriate.
Avoid allowing water to collect in tanks, openings, or other areas where it could freeze.
Common Mistakes to Avoid When Winterizing Fertilizer Equipment
Even experienced operators can overlook important details during seasonal maintenance.
Some of the most common mistakes include:
Leaving Fertilizer in the Plumbing
Residual fertilizer can crystallize, restrict flow, and contribute to corrosion during storage.
Forgetting Small Lines and Valves
Bypass plumbing, check valves, manifolds, and other smaller components may still contain liquid after the main system has been drained.
Using the Wrong Antifreeze
An incompatible product can damage seals or fail to provide the required protection.
Neglecting Pump Maintenance
Cleaning the tank and hoses doesn’t guarantee that the pump has been properly protected.
Ignoring Electrical Connections
Fertilizer residue and moisture can contribute to corrosion around connectors and electronic components.
Waiting Until Temperatures Drop
Winterization should be completed before freezing conditions arrive, not after equipment has already been exposed to them.
Avoiding these mistakes can help reduce unexpected repairs and protect the equipment investment.
Make a Maintenance List for Spring
As you winterize liquid fertilizer equipment, keep a record of any components that need attention.
This might include worn hoses, leaking fittings, damaged valves, pump repairs, or outdated application controls.
Creating a maintenance list allows repairs and upgrades to be scheduled during the off season.
It also provides an opportunity to evaluate whether the existing equipment still meets the operation’s needs.
If application accuracy, flow control, or equipment reliability was a concern during the previous season, winter may be a good time to investigate improvements.
Having those issues addressed before spring can help reduce downtime when fieldwork begins.
Conclusion
Knowing how to winterize liquid fertilizer equipment is an important part of protecting your agricultural equipment investment.
Proper cleaning, flushing, inspection, and storage help reduce the risk of freezing damage, corrosion, clogged components, and unexpected repairs.
From fertilizer tanks and application hoses to pumps, flow meters, valves, and precision agriculture controls, every component deserves attention before the equipment is put away for the season.
Taking time to complete these tasks in the fall can make spring startup smoother and help ensure fertilizer application systems are ready when they are needed.
If you need assistance with fertilizer application equipment, replacement components, precision agriculture technology, or system upgrades, contact us here. Our team at L&D Ag can help you explore equipment and technology solutions that support reliable, accurate fertilizer application throughout the growing season.
Further Reading
Penn State Extension: Late Fall Is the Time to Winterize Your Sprayers
Purdue University Extension: Repairing Spray Equipment for Winter Storage and Spring Startup
SurePoint Ag: Winterization of Your SurePoint Ag Products
CDS-John Blue Company: Frequently Asked Questions and Pump Winterization
Kansas State University Extension: Field Equipment Maintenance and Winterizing Sprayers
