
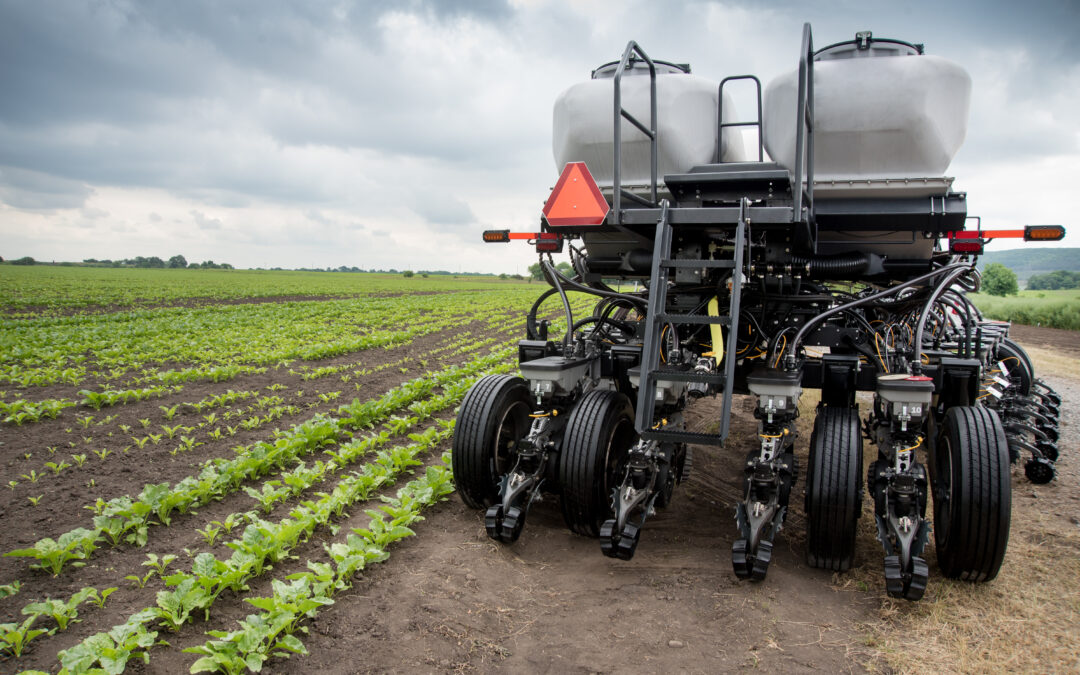
As planting season approaches, preparation becomes one of the most important factors in achieving strong emergence and maximizing yield potential. A complete spring planter maintenance checklist can help identify worn components, improve planting accuracy, reduce downtime, and ensure your planter performs consistently once fieldwork begins.
Even small maintenance issues can create major problems during planting. Uneven seed depth, row spacing inconsistencies, poor trench closure, and skipped rows often trace back to components that should have been inspected before entering the field. The reality is that a few hours spent on maintenance now can save days of frustration later during the busiest part of the season.
This spring planter maintenance checklist covers the most important areas to inspect before planting begins so your equipment is ready to perform when conditions are right.
Why a Spring Planter Maintenance Checklist Matters
Modern planters are more advanced than ever, and they rely on precision performance across every row unit. If even one component fails or falls out of adjustment, emergence and yield can suffer.
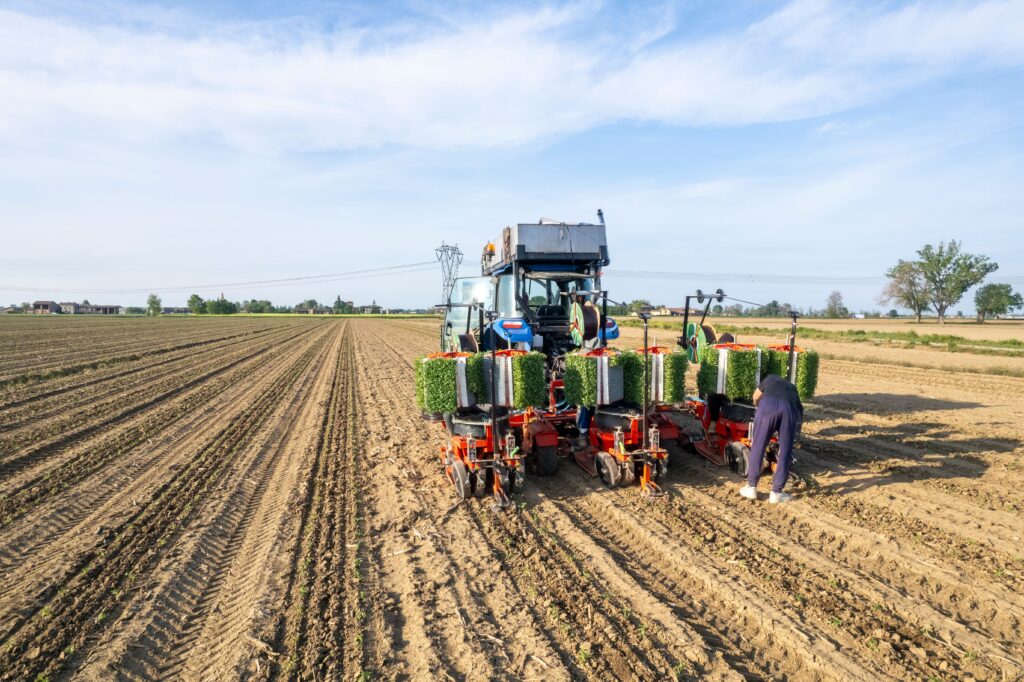
A proper spring planter maintenance checklist helps:
- Improve planting accuracy
- Reduce costly downtime
- Maintain consistent seed depth
- Improve seed spacing
- Protect yield potential
- Extend equipment life
Planting windows are often narrow, especially in the Midwest. Unexpected breakdowns or inconsistent planting performance can create long-term crop issues that are difficult to correct later in the season.
1. Inspect Row Units Thoroughly
One of the most important parts of any spring planter maintenance checklist is inspecting row units.
Row units are responsible for:
- Opening the trench
- Placing the seed
- Maintaining depth
- Closing the trench properly
Things to inspect:
- Loose components
- Excessive movement
- Worn bushings
- Bent or damaged parts
Why it matters:
Worn row units create inconsistent planting depth and poor seed placement. Even small amounts of wear can impact emergence uniformity.
Check every row individually rather than assuming all rows wear evenly.
2. Check Opener Discs
Opener discs are critical for creating a clean seed trench.
Inspect for:
- Disc diameter wear
- Poor contact between discs
- Cracks or damage
- Bearing issues
Signs of worn discs:
- Poor trench formation
- Hair-pinning residue
- Uneven seed depth
- Sidewall compaction
As part of your spring planter maintenance checklist, measure disc diameter against manufacturer specifications. Worn discs often reduce planting performance without obvious visual symptoms.
3. Inspect Gauge Wheels
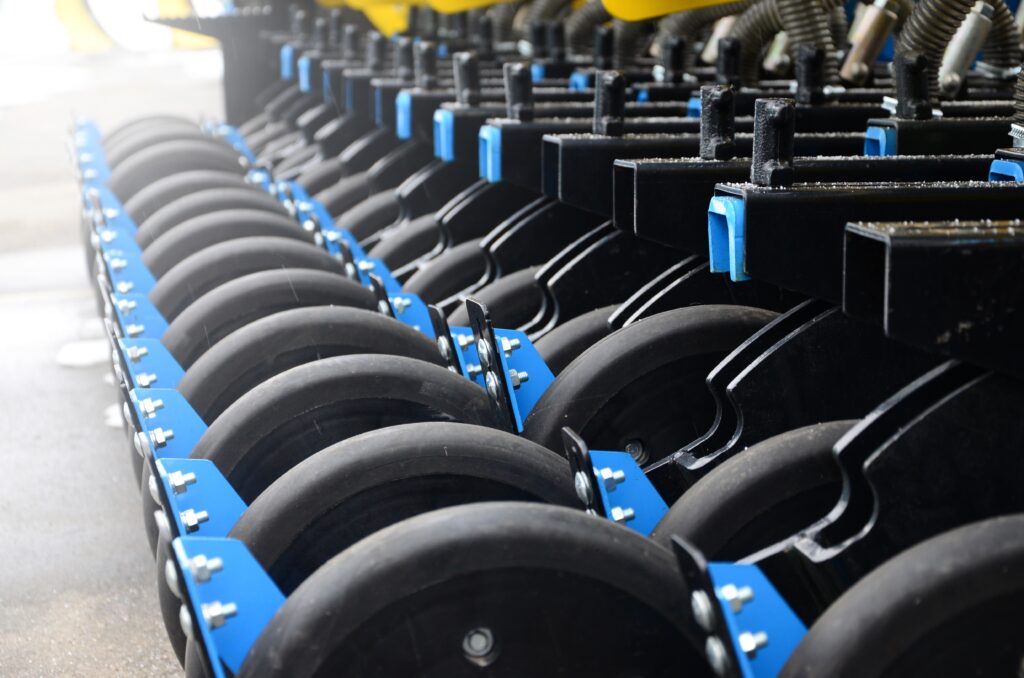
Gauge wheels help control planting depth and maintain proper contact with the soil.
Look for:
- Worn rubber
- Loose arms
- Poor alignment
- Excessive wobble
Why it matters:
Gauge wheel wear directly impacts depth consistency. If gauge wheels are not maintaining firm contact with opener discs, seed depth can vary significantly.
Gauge wheels should move freely but without excessive play.
4. Evaluate Downforce Systems
Proper downforce is essential for maintaining consistent seed placement across varying field conditions.
Inspect:
- Airbags or springs
- Hydraulic systems
- Downforce adjustment settings
- Sensors and monitors
Common problems:
- Too much downforce causing compaction
- Too little downforce causing row unit bounce
Your spring planter maintenance checklist should include testing downforce settings before entering the field, especially if soil conditions vary across your operation.
5. Inspect Seed Delivery Components
Seed delivery systems must function consistently to ensure proper spacing and placement.
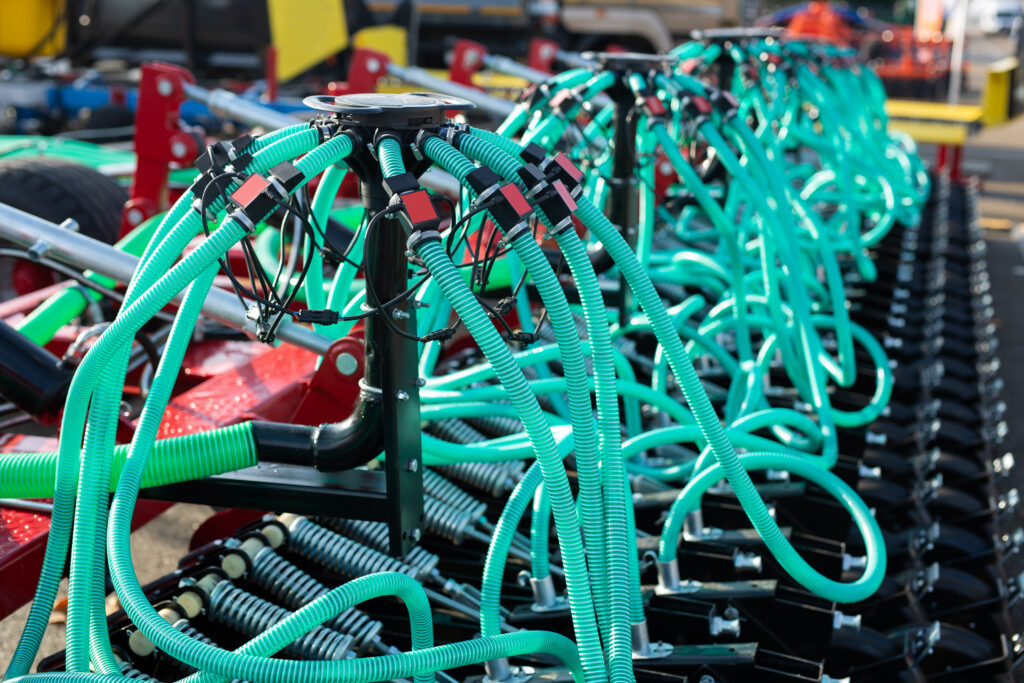
Check:
- Seed tubes
- Meters
- Brushes
- Belts
- Vacuum systems
Common symptoms of wear:
- Skipped seeds
- Doubles
- Uneven spacing
Damaged seed tubes or worn meters can drastically reduce planting accuracy.
Clean out all debris and inspect for cracks or wear before planting begins.
6. Calibrate the Planter
Calibration is one of the most overlooked steps in a spring planter maintenance checklist.
Even if components are in good condition, incorrect settings can create poor planting performance.
Calibrate:
- Population settings
- Seed meters
- Downforce systems
- Monitor systems
- Fertilizer systems if equipped
Why calibration matters:
Accurate calibration ensures the planter performs correctly under real field conditions.
Field-test calibration whenever possible before large-scale planting begins.
7. Check Closing Wheels and Trench Closure
Closing wheels are responsible for sealing the trench and maintaining proper seed-to-soil contact.
Inspect for:
- Wheel wear
- Alignment issues
- Bearing wear
- Pressure adjustment problems
Common issues:
- Open trenches
- Sidewall compaction
- Poor emergence
Improper trench closure can reduce germination consistency even when seed placement is correct.
A spring planter maintenance checklist should always include checking trench closure in actual soil conditions.
8. Inspect Chains, Bearings, and Drive Components
Mechanical drive systems often wear over time and can fail unexpectedly during planting season.
Inspect:
- Chains
- Sprockets
- Bearings
- Drive shafts
- Hydraulic hoses
Watch for:
- Rust
- Stretched chains
- Noise
- Excessive movement
Replacing worn drive components before planting is far easier than repairing breakdowns in the field.
9. Test Electronics and Precision Ag Systems
Many modern planters rely heavily on precision ag technology.
Check:
- GPS systems
- Row shutoffs
- Monitors
- Sensors
- Wiring harnesses
Common problems:
- Faulty connections
- Calibration drift
- Sensor failures
A proper spring planter maintenance checklist includes powering systems on early and verifying all electronics communicate correctly.
10. Check Tire Pressure and Frame Alignment
Planter tires affect depth consistency and transport stability.
Inspect:
- Tire pressure
- Tire wear
- Frame levelness
- Hitch alignment
Why it matters:
Uneven tire pressure can alter row unit depth across the planter.
Frame alignment also affects planting consistency and monitor accuracy.
11. Lubricate All Moving Components
Lubrication is a simple but essential part of any spring planter maintenance checklist.
Lubricate:
- Bearings
- Chains
- Pivot points
- Hinges
- Drive systems
Proper lubrication reduces wear and helps prevent unexpected failures during planting.
Always follow manufacturer recommendations for grease intervals and lubrication points.
12. Inspect for Hydraulic Leaks
Hydraulic systems play a major role in planter operation.
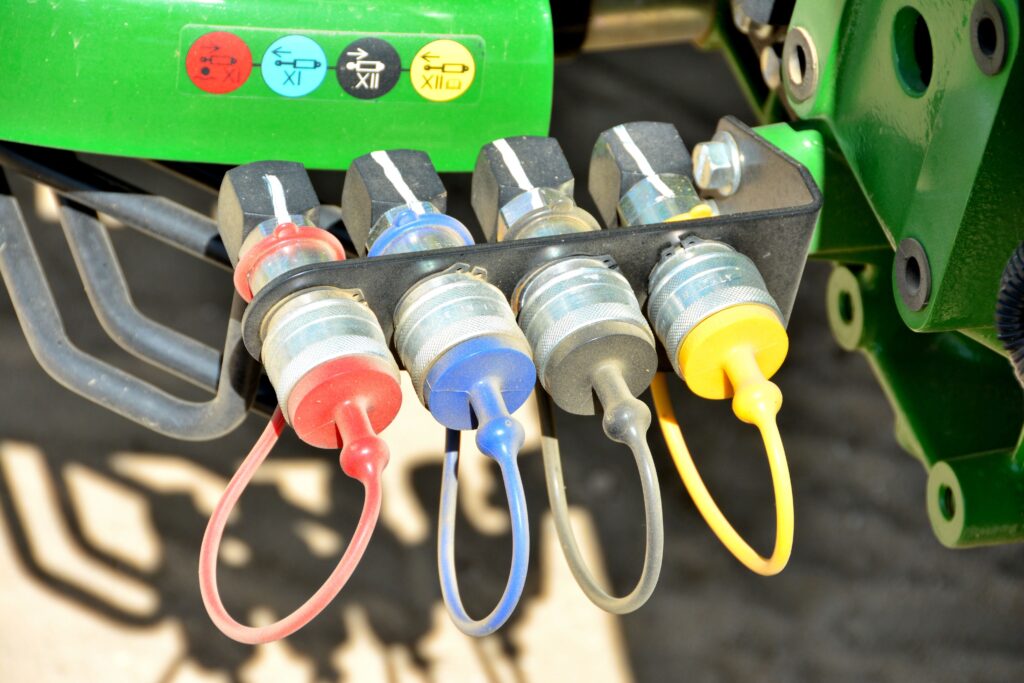
Check:
- Hydraulic hoses
- Couplers
- Cylinders
- Fittings
Watch for:
- Cracks
- Leaks
- Weak pressure
- Slow response
Hydraulic issues can lead to poor downforce performance, folding issues, and drive system failures.
13. Test the Planter Before Entering the Field
One of the best things you can do during your spring planter maintenance checklist is conduct a full operational test.
Run the planter:
- In the yard
- In a test strip
- Under actual field conditions
Verify:
- Seed depth
- Spacing
- Closing performance
- Monitor readings
This allows you to catch problems before planting windows become critical.
Common Mistakes Farmers Make During Spring Planter Prep
Even experienced operators sometimes skip critical steps.
Common mistakes:
- Rushing inspections
- Ignoring minor wear
- Skipping calibration
- Planting too fast
- Waiting until breakdowns happen
A complete spring planter maintenance checklist helps prevent these avoidable problems.
Final Thoughts
A detailed spring planter maintenance checklist is one of the best investments you can make before planting season begins. Consistent seed placement, proper trench closure, accurate spacing, and reliable equipment performance all begin with preseason preparation.
Small issues discovered early are far easier and less expensive to fix before field conditions and planting schedules become stressful. Taking the time to inspect, calibrate, and maintain your planter now can help protect yield potential throughout the season.
If you want help preparing your planter, upgrading components, or improving planting performance this spring, contact us here and our team will help you get your equipment field-ready before planting begins.
Further Reading
- University of Minnesota Extension – Corn Planting and Planter Setup
https://extension.umn.edu/corn-planting - Iowa State University Extension – Planter Maintenance Tips
https://crops.extension.iastate.edu - Precision Planting – Planter Performance Resources
https://www.precisionplanting.com - Purdue University Agronomy – Uniform Emergence and Yield
https://www.agry.purdue.edu
